Create Sponsors
In the Guest Management pane, use the Sponsors tab to define the corporate employees who are authorized to log in to the Guest Management Portal. These users are called sponsors. Anyone defined as a sponsor can use the Guest Management Portal to approve, decline or revoke network access for their sponsored guests.
If the employee email address provided by a guest in the Guest Registration form is not defined in the Sponsors tab, the employee cannot use the Guest Management Portal. The employee can only approve or decline the guest if the Forescout user selected the option in the Guests tab of the HTTP Login action. 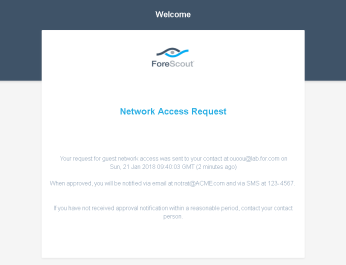
Add sponsors in any of the following ways:
- Globally, by selecting all user directory members
- Individually, by defining an email address
- By group, by defining an Active Directory group
To configure sponsors:
- Select the Sponsors tab of the Guest Management pane.

- To add all corporate user directory domain members as sponsors, select the f option.
- To add sponsors individually or by group:
- Select Add. The Add Sponsor dialog box opens.

- Define the following sponsor information:
Email\Active Directory Group(required)Define either of the following:Enter the Active Directory email address of the individual you want to define as a sponsor.Enter a corporate Active Directory group name to assign all its group members as sponsors.Type(required)Select a sponsor type.Sponsor - can access the portal to view and manage only guests that are assigned to them.Admin Sponsor - can access the portal to view and manage all guests that have registered for network access, and can override the statuses applied by other sponsors.Description(optional)Enter a description for the Guest Management sponsor.
- Select OK.
- Select Add. The Add Sponsor dialog box opens.
- After all sponsors have been added, select Apply to save your changes in the configuration.
 minute read