Log In to the Forescout Console
You can manage eyeSight devices via the Forescout Console after the device IP address/FQDN and user login credentials that you provide are verified. Make sure that you have this information before attempting to log in.
Note: It is not recommended to run the Forescout Console using the Windows 10 built-in administrator account, as it prevents the use of certain Console functionality.
To log in:
- Select .
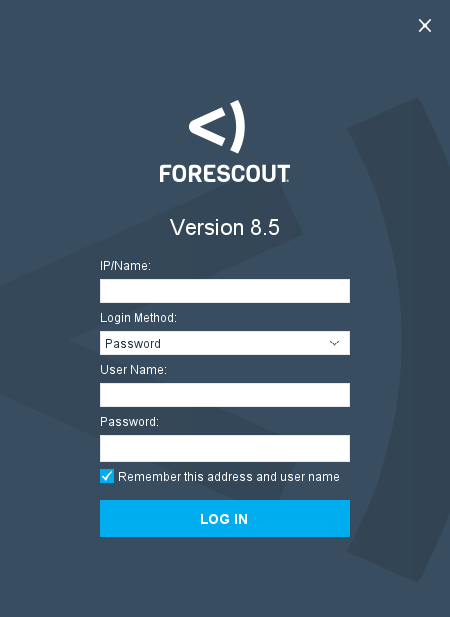
- Enter the eyeSight device IP address or FQDN in the IP/Name field.
- From the Login Method drop-down, select a login method:
- If you selected Password, enter the Console User Name and Password, and skip to Step 6.
- If you selected Smart Card:
- Select the PIN Prompt By method from the drop-down menu:
- Smart Card Middleware: Select when your system uses activClient middleware. You will be prompted to provide a PIN to access the certificates for this Smart Card. If your system uses OpenSC middleware, and you select Smart Card Middleware as your PIN prompt method, the login will fail.
-
Forescout Console: Select when your system uses OpenSC middleware. You will be prompted to provide a PIN to access the certificates for this Smart Card. If your system uses activClient middleware, and you select Forescout Console as the PIN prompt method, you will be prompted to provide the PIN twice, and then the login process will proceed.
- If the Dll Location is
empty, enter the location where the Smart Card driver is installed on
the computer. To use OpenSC, select the
opensc_pkcs11.dlllocated ininstalldirectory\OpenSC\x86orinstalldirectory\OpenSC\x64. See OpenSC for more information. - If there are multiple Smart Cards connected to the Smart Card reader, the Select a Smart Card window opens after you click Log In. Select the desired Smart Card, and then click OK.
- If there are multiple certificates associated with the Smart Card, the Select a Certificate window opens. Select the appropriate certificate, and then click OK.
Note: It is recommended to log on once as the admin after installing the Console to automatically update the JRE before allowing Smart Card authentication. - Select the PIN Prompt By method from the drop-down menu:
- Select Remember this address and user name to automatically fill in this information when you next attempt to log in.
- Select Log In.
Note: A window may open displaying terms and conditions. To continue working, read and accept the terms. The login process continues.
- If two-factor authentication is required, complete the Security Verification requirements and then select Verify.
 minute read