Set up the Forescout Console site map - create site locations
To work with the site map, you must create map locations. Map locations comprise specific geographic locations that are assigned to segments. For example, create a NYC HQ location and assign segments located in the New York office network to this location.
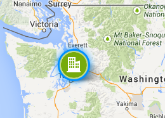
Each map location is represented on the map by a location indicator.  .The indicator size is based on the number of detections at the site, i.e., when there are more detections, the site indicator is larger.
After locations are created, the map displays information about detections at each site when you position your cursor over a site.
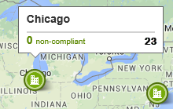
Click a location to view detailed site information. For example:
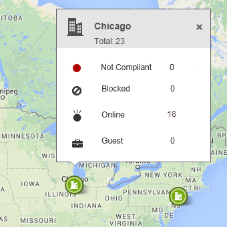
When you double-click a site, the endpoints at that site are displayed in the Detections pane below the map. A blue ring around the icon indicates that the site is selected. Clicking anywhere on the map to deselect the site.
To define locations:
- Select .
- Select Map, and then select Locations. The Locations pane appears.
- Select Add. The Add Location Wizard opens.
Add Location Wizard-Name pane
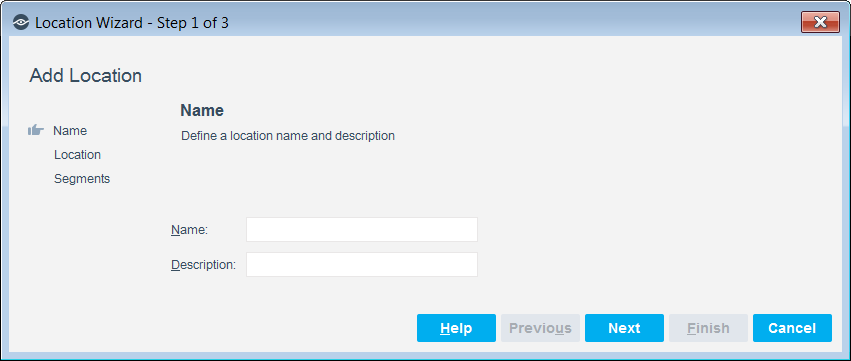
- Enter a location name and description. Select Next.
Add Location Wizard-Location pane
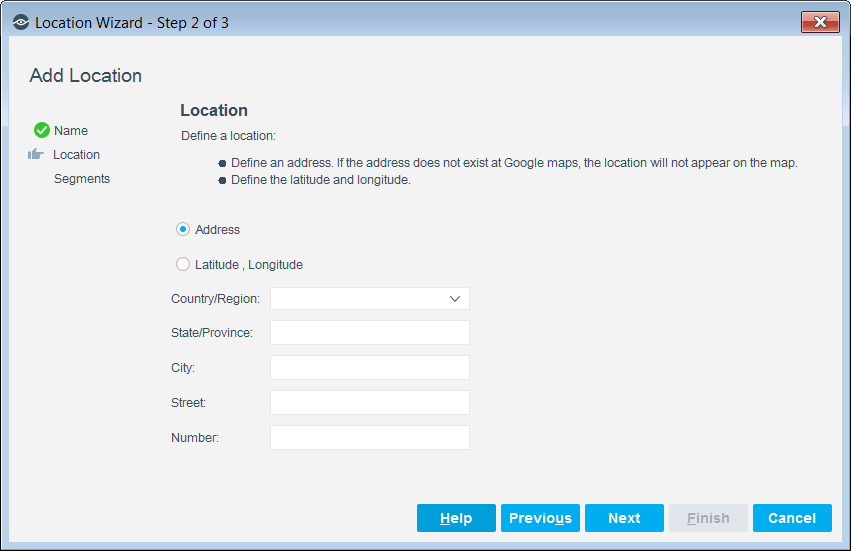
- Define a location:
- Define an address. If the address you enter is not maintained by Google Maps, the location will not appear on the map.
- Define the latitude and longitude.
- Select Next.
Add Locations Wizard-Segments pane
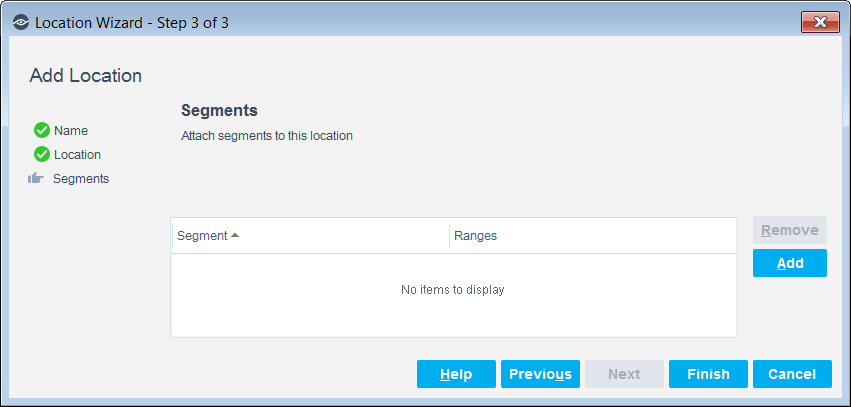
- Select Add. The Segment selection dialog box opens.
- Select the segments that you want to associate with this geographical location.
- Select OK. The location appears in the Locations pane.
 minute read