Working with lists
Use the List wizard to generate lists.
To work with lists:
- Select from the Console, and then select Lists.
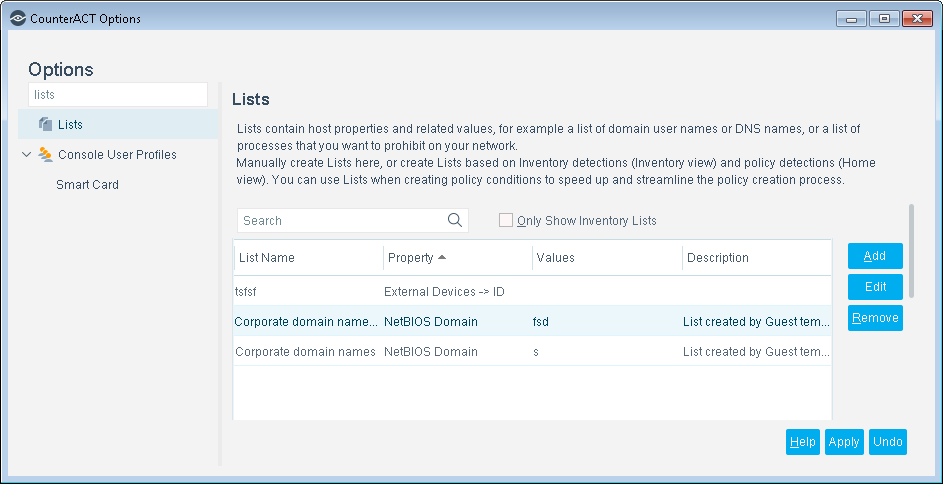
- To delete a list, select it and select Remove. You cannot remove lists that are used in policies.
- Do one of the following: The wizard opens in the List Name pane.
- Select Add.
- Select an entry from the Lists pane, and then select Edit.
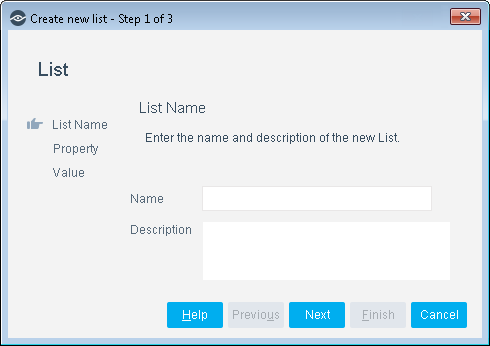
- Enter a name for your list and add a description.
- Select Next.
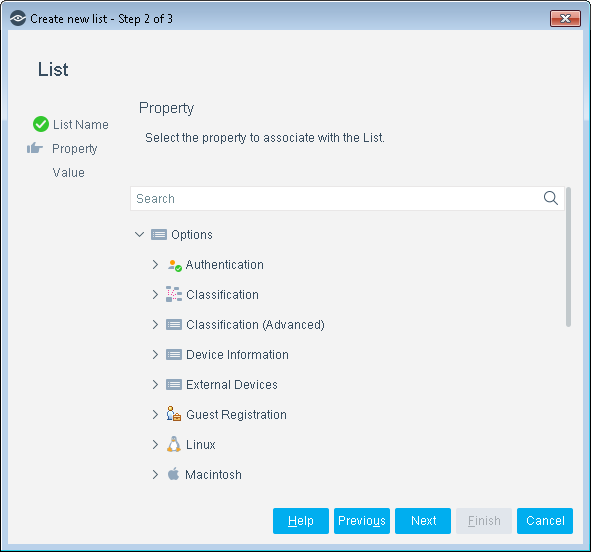
- Select the property for which to make the list. See Working with Properties for information about the properties shown. You can use this option for any property that consists of free text and for the Device Information > Open Ports property. Other properties, for example, installed software, peer-to-peer applications or properties indicating endpoint manageability, cannot be included in lists.
- Select Next.
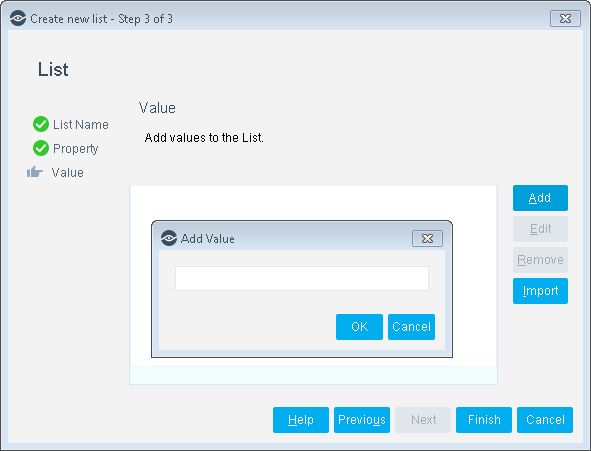
- Select Add, and then enter a value.
- Add additional values as required.
- Edit a value:
- Select the value. The name is displayed in the free text field.
- Edit the value. The new value is added to the list.
- Delete the previous value.
- Import values from external programs. Type one value per line. A value can contain spaces. Files should be imported in TXT format and must be UTF-8 encoded.
- Select Import.
- Navigate to your file and import.
- Select Finish. Your value list is displayed in the Lists pane.
- Select Apply, and then select Close. Lists you add here appear in the Asset Inventory view, if the list includes properties detected in the network.
 minute read